
In 2017, I opted to skip the crowds and the drive and settle for a 94% solar eclipse. I fully regret that decision.
Weather permitting, I’ll be photographing the full solar eclipse from the path of totality next Monday. While I’ve amassed a ton of gear, the main resource I’ve dumped into this project is time—time planning, practicing, and hacking.
After investing all that time, here’s my plan.
Why
I’m never going to produce an eclipse photo comparable to the work of Miloslav Druckmüller—so why bother with photography at all?
Photography is my hobby, and what’s a hobby without a challenge? Sure, the siren song of cool gear is part of it—I do love gear—but it also takes planning, hacking, and editing skills to create a great picture.
I got to spend time rooting around inside libgphoto2, breaking out the soldering iron to jury-rig a custom ESP32-based release cable, and practicing every move I’ll make on eclipse day. For me, this is fun.
Your mileage may vary.
Gear

Here is my gear checklist for this year:
Imaging:
The lens and teleconverter give me an effective focal length of 560mm. The 1.4µm pixel pitch of the A7rIII means I’ll cover 1.7 arc-seconds per pixel at my focal length—right in the sweet spot (below two, above one).
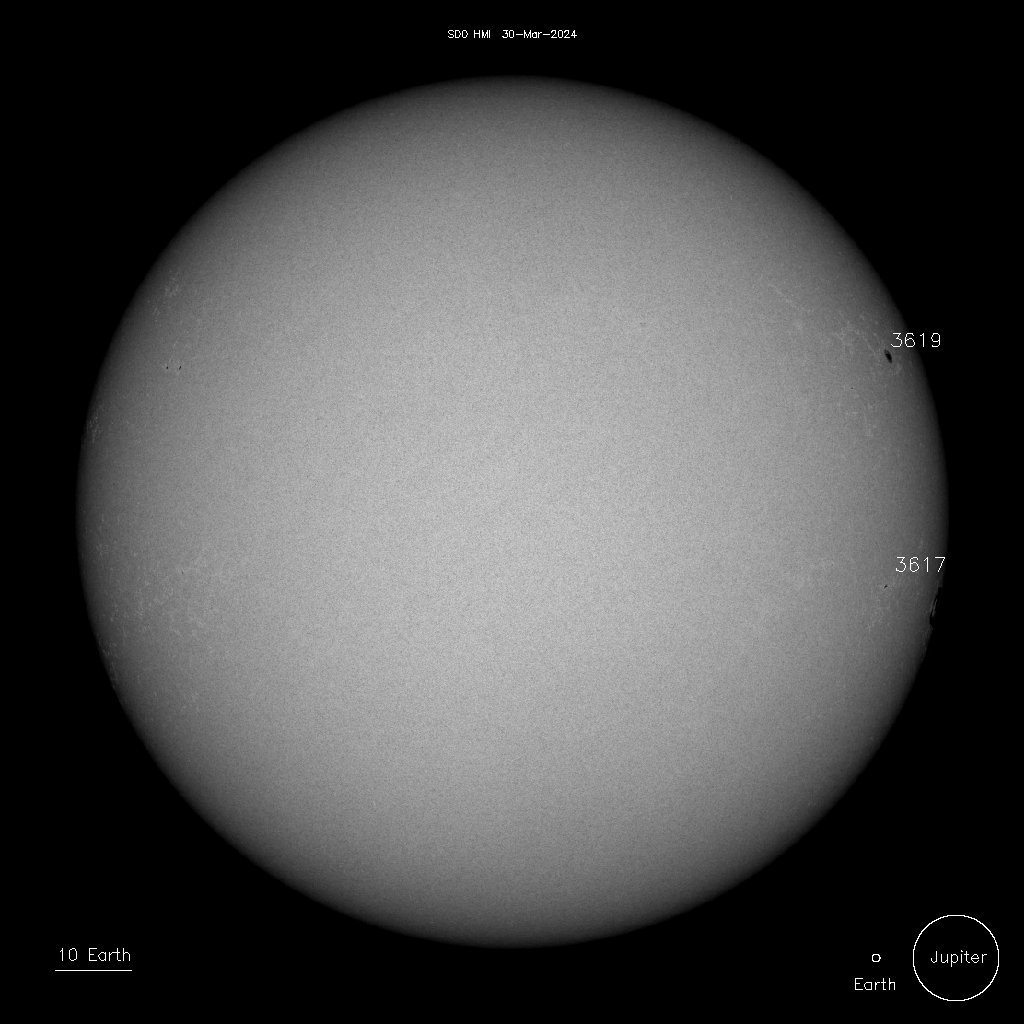
Here’s what a cropped image of the solar disk looks like on this setup:

You can compare this photo to an image taken yesterday by the Solar & Heliospheric Observatory (SOHO) spacecraft—both show sunspots AR3617 and AR3619. I’m gratified that a picture from my backyard shows the same details as one from outer space.
Other essentials
- M5StickC ESP32-PICO – I’m using this as an intervalometer. I’ve programmed it with the Alpha Fairy firmware and will control it using pyserial. I soldered together a release cable that I’ll use to control the shutter.
- iOptron SkyGuider Pro – This is an tracking mount. It cancels out the motion of the Earth so the sun appears in the same spot in the frame (if I polar align right).
- Thousand Oaks 77mm threaded RF-film solar filter – for use pre-totality. I bought this for the 2017 eclipse. This prevents the sun from destroying my lens and camera.
- Manfrotto XUME 77mm lens adapter – secures the solar filter to my lens via a magnet, letting me pull it off instantly rather than fiddling with unscrewing a filter.
Software
- Planning – PhotoPills helped me plan where to be and where to look.
- Polar alignment – I’ll use SkEye for daytime polar alignment, pointing my tracking mount downwards towards σ-Octantis, which will align my tracker with the motion of the Earth.
- Weather/Clouds – VentuSky shows real-time GOES satellite imagery and lets you browse weather prediction models. SkippySky shows real-time total cloud cover, seeing, and transparency (and also shows the eclipse path). Clear Dark Sky is the classic astronomer’s forecast tool.
My plan
I’m pegging all my images to f/8, ISO 100, and only adjusting shutter speed.
I’ll be bracketing five photos, each three stops of light away from each other (±3EV). I’ll adjust my base shutter speed twice.
Pre-totality, I’ll do 1/100 second shutter speed. This should cover me for full-disk images, right up through Baily’s beads:
- 1/100”
- 1/800”
- 1/13”
- 1/6400”
- 0.6”
After totality, I’ll move the shutter speed to 1/15 of a second. Fast enough to ensure I get at least one clear shot and slow enough to get earthshine if all goes to plan with my polar alignment:
- 1/15”
- 1/125”
- 1/2”
- 1/1000”
- 4”
If it all falls apart? Well. I’ll be in Austin—a great place to while away the time longing for clear skies.